You will find the tools at the top in the viewer.

Navigation tools:
With the navigation tools you have the below functionalities:,
(1) Zoom with the mouse button when you are in the pdf
(2) Zoom in
(3) Zoom out
(4) Fit the document in view (Document Width, Document Hight)
(5) Zoom to 1 on 1 pixel and back to actual size. You can also set the Monitor Resolution.
(6) Move document either in the navigator or with the "hand" tool.
Orientation tools:
With the orientation tools, you can
(1) Rotate the view on 90 degrees
(2) Mirror the view
Measure tools:
With the measure tools you have below possibilities.
(1) within the submenu of the ruler icon you can
(a) View Distance and Angle
(b) View X and Y position
(c) View Width and Height
(d) Set Ruler Angle to CCW
(e) Change measurements display color
(f) Reset measurements display color
(2) Measure the color perventage at one point
(3) Check Bar Codes
(4) Check Braille
(5) Within the submenu of the Caliper you can
(a) Draw horizontal parallel lines or vertical lines
(b) Fix the parallel lines and change the place where they are fixed
(c) Change the gap with the buttons or directly by entering a number
(d) Again change the place just by clicking on the new place you want to have it
Additionally you can display a ruler alongside your artwork, on the left and the top.
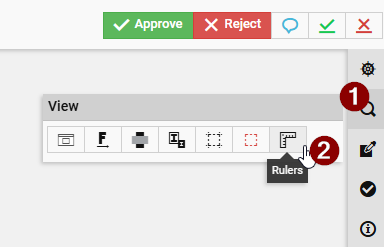
Within the viewer at the right side, click on the icon 'View' (1) and then click on the icon 'Rulers'.
The ruler band will be displayed at the top and at the left of your artwork (marked in yellow below).

You can also use the short key 'Shift +r' to display and hide the ruler.
The ruler band is adjusted accordingly when you zoom in / out the artwork or move the artwork by the pan tool.
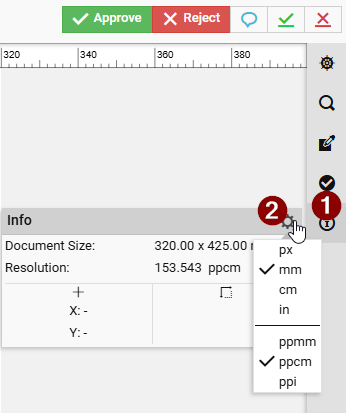
You can change the measurement unit when you click the icon 'Info' the right (1). In the opening window at the top right you have a gear wheel to change the settings (2).
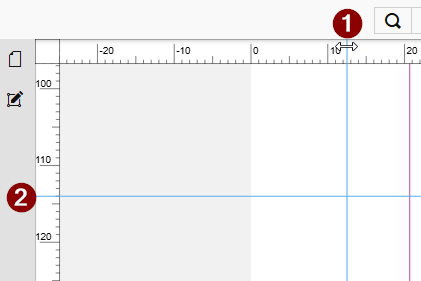
You can add guidelines on the artwork by clicking on the ruler band at the top for a vertical guideline (1) and at the left for a horizontal guideline (2).
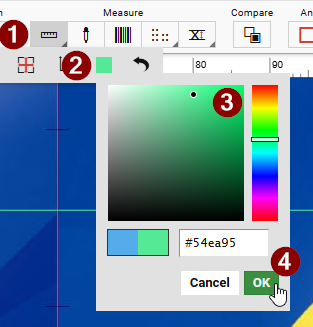
You can change the colour of your guidelines by clicking the icon 'Ruler' (1) and afterwards the icon 'Change measurements display color' (2). Select the colour (3) and click 'OK' (4).
When you work on another document, the system will remember your preferred colour. It is reset to default when you log. out.
Text tools:
With the text tools you can
(1) Search for a text within the artwork
(2) Detect the font properties of the texts in the artwork
(3) Search for text of an dedicated font size
Comparison tools:
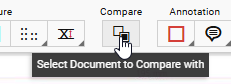
To open the comparison tools click on the icon 'Compare'. In case you have not selected a document to compare with, you get the message 'Select document to Compare with'.
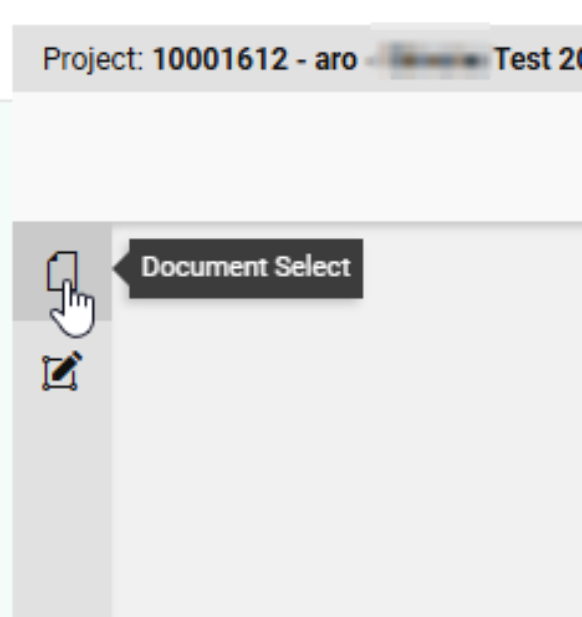
To select the document you will find on the left the icon 'Document Select'.
Using the icon, a new pop-up opens, where you can select another version from the current project (1) but you can also select documents from other projects (2).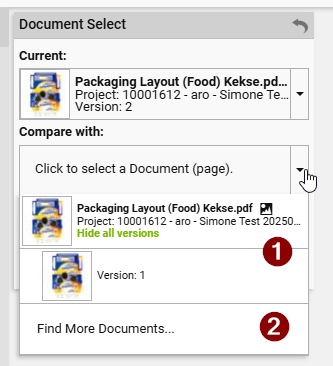
With the comparison tools you can
(1) View the current version
(2) View the selected reference version
(3) View both versions - blinking
(4) View both versions overlapped
(5) View both versions with highlighted differences
(6) View both versions side by side with highlighted differences
Annotations tools:
Annotations tools and annotations made out of measure tools are explained in a separate page - please go to How to do annotations.